Todoist
The Todoist widget provides a highly customizable to-do list experience.
Introduction:
Todoist offers a different type of interface from our original To-Do widget that offers a variety of organization options so you can create Projects, Sections, Tasks, and Subtasks. We have launched this To-Do option in its very own Todoist widget that you can integrate with the Todoist account you already have. This means you can access your Todoist lists without having to open a separate extension or tab. Let’s take a look at how the widget works.
Adding the Widget:
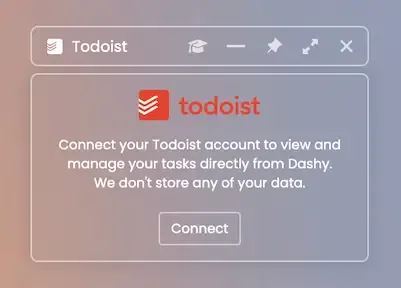
Upon adding the Todoist widget from the widget explorer, you will be prompted to connect to your Todoist account and grant Dashy permission to sync with it. Once synced, all of your Projects and Tasks will automatically appear within the widget. If you haven’t used Todoist before, you can start from scratch and create your customized experience in a different manner than our To-Do widget.
Projects:
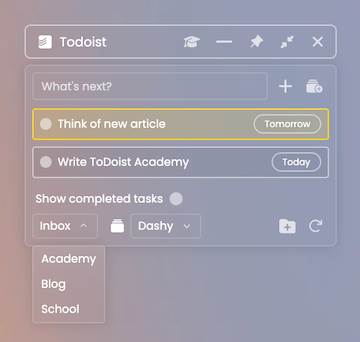
To add a Project, click the icon at the lower right of the widget and give your Project a label. These projects can be easily cycled between by clicking the drop down menu at the lower left. This allows you to compartmentalize each aspect of your work.
Sections:
To create Sections within each Project, navigate to the Project you want to create a Section for, then click the “Add section” icon at the top right of the widget. Give your Section its own label, then add your Tasks and Subtasks to it.
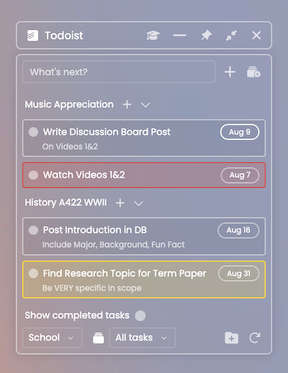
Once you have created your Sections, they will be sorted into these groups. You can use the second drop down box to cycle between them, or select “All tasks” to show all of your Sections. If you are showing all of your Sections, you can collapse them, add a task to them, or delete the section by hovering over a Section and selecting from the options at the top.
Tasks:
For each individual task you create, you can click on the tasks, label it and provide a description, add up to 4 subtasks, set a due date, and set a Priority rating. Once you check an item off of your list, it will disappear from view. If you prefer to see your completed tasks, you can select the “Show completed tasks” checkbox at the bottom of the widget to see completed tasks with their checkmark and strikethrough.
If you want to have a task recurring daily, you can accomplish this through Todoist directly as it is currently unavailable to create within the widget.
Conclusion:
We hope you enjoy this new integration and alternative style of To-Do. If you need further assistance or want to see something in the future, be sure to reach out to us through the Feedback widget or submit a request here!
Disclaimer:
The Todoist widget featured in this article is not created by, affiliated with, or supported by Doist, the company behind Todoist. The integration has been developed independently to enhance user productivity and task management within Dashy.
Join the Dashy community and start being more productive with the Dashy Side Panel! Check us out on LinkedIn, Twitter, Youtube, and Instagram. Download the extension HERE!
